REVIEW · EVENING EXPERIENCES
Magical “Stockholm by Night” Photo Walk
Book on Viator →Operated by JP Photo · Bookable on Viator
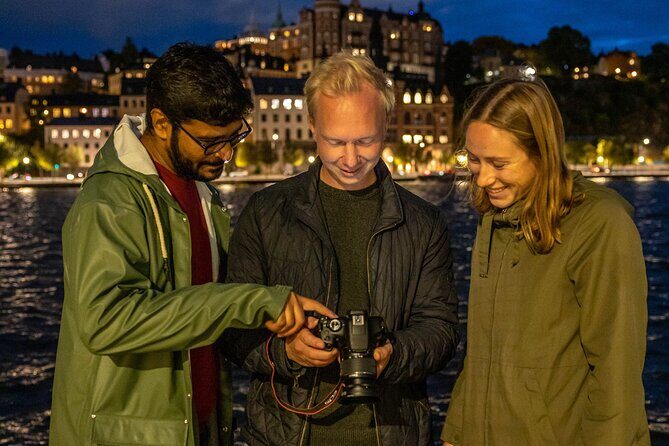
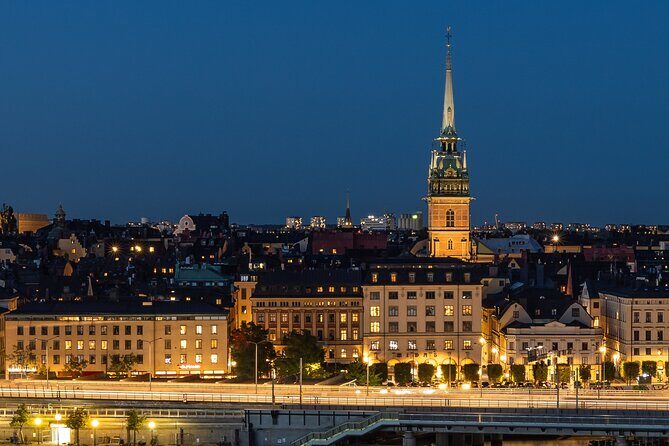
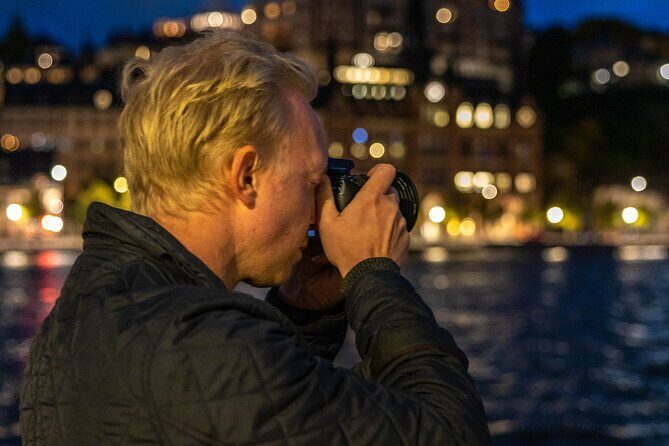
Neon streets after sunset make Stockholm glow. This 2-hour night photo walk teaches low-light camera skills right when city lights switch on, and you learn long exposure tricks to capture moving light from cars and trains. I like how the guide points out where to stand and what to shoot so your photos look intentional, not accidental. I also love the Swedish fika break with coffee and a cinnamon bun, which is a smart reset when it’s cold. The only real drawback is practical: light is tough, so a tripod is recommended if you want consistently sharp results, even though it’s optional.
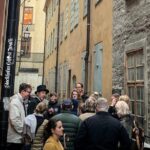
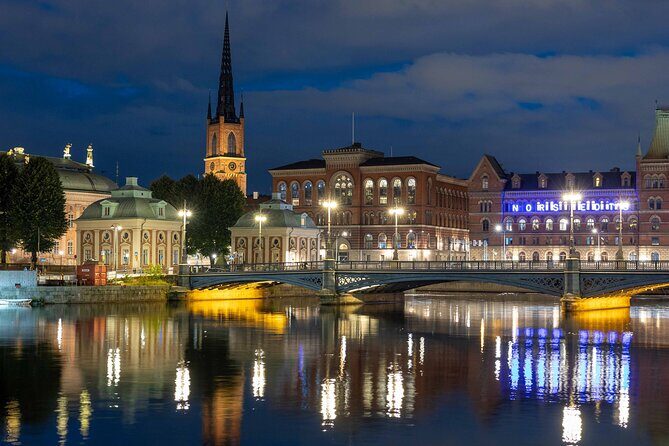
You meet at the Stockholm City Museum at Ryssgården, then you’ll walk a tailored route through classic viewpoints like Old Town, Riddarholmen, Mariaberget, and Stockholm City Hall. It’s private for just your group, and you get flashlights during the walk plus an eBook about city photography after the tour, so the learning doesn’t vanish the next morning.
In This Review
- Key highlights for a great night shoot
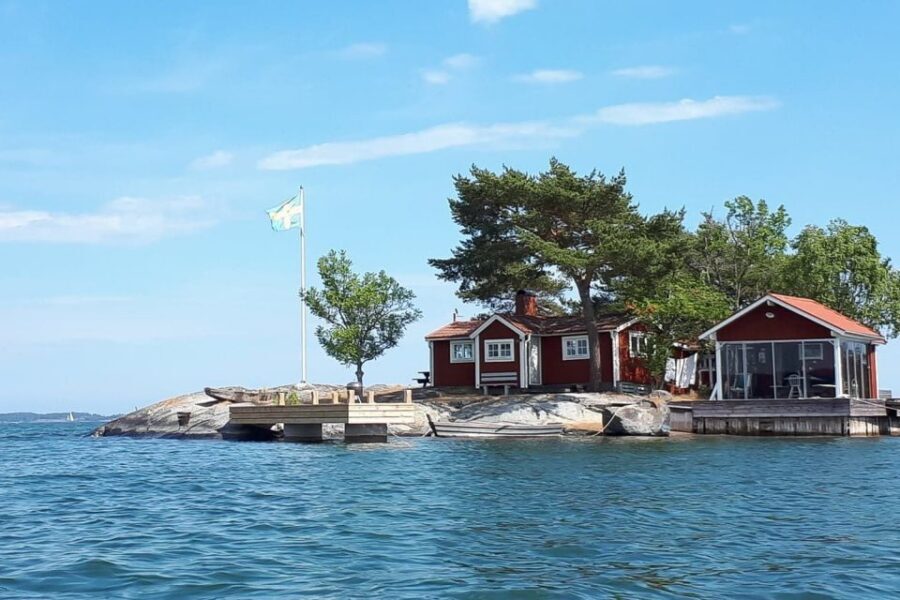
- Why Stockholm looks different after sunset
- Low-light technique: what you’ll practice in real streets
- Starting point at Stockholm City Museum (Ryssgården) and how the walk flows
- Stockholm Old Town: where night lights turn buildings into subjects
- Riddarholmen: reflections, calmer angles, and cleaner silhouettes
- Mariaberget: viewpoint practice that helps your composition click
- Stockholm City Hall lights: the payoff stop for long exposures
- Fika break: why the coffee matters to the photos
- Price and value: is $159.07 worth it?
- Who should book this night photo walk
- Quick planning tips before you go
- Should you book Stockholm by Night photo walk?
- FAQ
- How long is the Stockholm by Night photo walk?
- Where does the tour start and end?
- How much does the tour cost?
- What’s included in the price?
- Do I need a tripod?
- Is the tour private?
- What if the weather is poor?
- What is the cancellation policy?
Key highlights for a great night shoot

- Long exposure for light trails so you can record motion from traffic instead of fighting darkness
- A guide who adapts to you, adjusting the route to your experience level and interests
- Fika in the middle of the walk with Swedish coffee and a cinnamon bun to warm up and regroup
- Phone-friendly instruction, including tips for iPhone shooting
- Flashlights included, which sounds small until you’re trying to move safely in the dark
- A stop-by-stop focus on landmarks, not just random street corners
Why Stockholm looks different after sunset
Stockholm at night is a photo assignment you’ll actually want to do. The walk starts just after sunset, when the sun has disappeared and the city transitions into something dramatic: windows glow, reflections show up, and the dark gives streetlights meaning. That timing matters. If you arrive too early, you’ll chase a fading scene. If you arrive too late, you’ll fight black shadows. This tour aims for the sweet spot where lights are strong enough to work with.
The big idea is simple: night photography isn’t only about having a better camera. It’s about knowing how to handle dim light, how to steady your frame, and how to use light itself as a subject. That’s why the tour leans into long exposure—cars and trains stop looking like moving streaks and start looking like purposeful lines.
Other photography tours and photo walks in Stockholm


Low-light technique: what you’ll practice in real streets
You’ll get hands-on coaching for low-light conditions, and that’s the value. Reading about night settings is one thing. Watching someone explain how to set up your shot while you’re standing in the exact place you want to photograph is another.
Here’s what you should expect to work on during the walk:
- Stability: in the dark, your camera often needs longer exposures, so even small hand movement can blur the whole image.
- Composition choices: you’ll learn how to frame landmarks and light sources so they look balanced, not messy.
- Using motion on purpose: the tour’s highlight is capturing moving light from cars and trains as light trails, which gives your photos energy.
About that tripod: it’s optional, but recommended. If you have one, use it. You’ll be much happier reviewing your shots afterward, especially if you’re new to night photography. If you don’t have a tripod, you can still join, and you’ll likely rely on steadier setups and phone/camera techniques that don’t require as much gear. Still, manage expectations: without a tripod, you’re more likely to get softer edges and inconsistent results.
Also, plan for the practical side of night shooting. Bring a fully charged camera phone or battery. Cold weather can drain power fast, and the tour doesn’t slow down just because your device is giving up.
Starting point at Stockholm City Museum (Ryssgården) and how the walk flows
You begin at Stockholm City Museum, Ryssgården and end back at the same meeting point. That loop is nice for two reasons: you’re not doing a long one-way trek, and you can relax a bit about logistics while you focus on shooting.
Starting from a museum area also helps. You’re in a setting where you can quickly get your bearings, test your framing, and learn the basics before you move to darker, more complex scenes. The tour also includes flashlights, which is practical. It means you’re not fumbling for your own light while trying to reposition.
The walk runs about 2 hours, which is long enough to get multiple compositions but short enough to stay productive. This matters in night photography because attention can drop quickly once it’s fully dark. A shorter format keeps you moving through the learning curve instead of freezing in place too long.
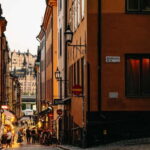
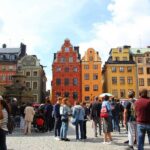
Stockholm Old Town: where night lights turn buildings into subjects
Your first stop is Stockholm Old Town. This is a classic choice for a night photo walk because it gives you strong vertical shapes, glowing windows, and streets that can frame lights nicely. Even if you’re shooting on a phone, Old Town usually gives you more texture than a flat waterfront.
What you’ll aim to do here:
- Find a vantage where landmark lines lead your eye into the scene
- Use the contrast between dark areas and lit surfaces
- Set yourself up to capture steady frames before you start experimenting with motion
A real drawback to keep in mind: Old Town streets can be harder to shoot from if you keep getting interrupted by passersby or if you’re surrounded by too many light points. The cure is the same in every night city: slow down, pick fewer elements, and use the guide’s landmark orientation so you don’t end up with a photo that looks like random light dots.
Riddarholmen: reflections, calmer angles, and cleaner silhouettes

Next you head to Riddarholmen. This area tends to work well at night because the lighting across the city can look more organized when you’re facing water and open sightlines. If you’re chasing reflections or want a scene where lights have room to stretch out, this stop is a good match.
In a practical sense, Riddarholmen is where you can test a few things the tour teaches:
- How different framing choices change the look of reflections
- How to position a landmark so the light doesn’t drown it
- How long exposure changes the feel of traffic and movement
Potential drawback: the same open angles that make shots look great can also mean wind. If you’re using a tripod, keep it stable and avoid touching the camera between shots. If you’re shooting handheld, be ready for the limits of your device in low light. The guide’s job here is to help you adjust your approach so you still come away with photos you’re happy to keep.
Other walking tours we've reviewed in Stockholm


Mariaberget: viewpoint practice that helps your composition click
The walk continues to Mariaberget. This stop is especially useful if you want your photos to move beyond street-level snapshots. Viewpoint areas give you a way to structure a scene: you can include more layers and let the city’s light geometry do the work.
This is also a common place where composition improvements start to make sense. When you change your height and distance, you stop cramming everything into the center of the frame. You start thinking about:
- Foreground vs background light
- How to place the main subject so the rest supports it
- How much motion you want in the final image
Possible drawback: viewpoints can mean extra steps and extra cold exposure. Wear shoes you trust on uneven ground. If your fingers feel stiff, take a pause and warm them up before you keep shooting. Night photography can turn frustrating fast when you’re cold, and the tour format won’t slow down just because you need a minute.
Stockholm City Hall lights: the payoff stop for long exposures
Your final stop is Stockholm City Hall. This is where the night energy tends to peak, because bright, structured lighting gives you strong, easy-to-read subjects. It’s also an excellent place to try the long exposure concept that the tour is built around: light trails.
What you’ll do with that idea:
- Arrange your frame so traffic movement becomes lines rather than chaos
- Balance the building’s fixed lights with the moving ones
- Compare your results and adjust your composition if the scene feels too busy
A practical consideration here is that you might want multiple attempts. Night shots don’t always cooperate on the first try. If you’re using a tripod, set up, wait for the movement, then take your shot. If you’re using a phone, you may need to test what your device can do in low light without getting too grainy. The coaching helps you avoid wasting time on settings that aren’t giving you the results you want.
Fika break: why the coffee matters to the photos
This tour includes a Swedish fika snack, and it’s not just a nice extra. During a night photo walk, your body and your brain are part of the camera. When you’re out after sunset, you’re also managing cold hands, tired eyes, and short attention spans. A break helps you reset.
In particular, this tour’s fika includes coffee and a cinnamon bun. That warming moment makes it easier to keep shooting with focus instead of rushing through the last stop. And it gives you a chance to ask questions while things are comfortable again, like how to handle composition on your next shot or what to tweak for your phone.
Price and value: is $159.07 worth it?
At $159.07 per person for about 2 hours, this isn’t a budget-only activity. But it’s also not just paying for a walk through pretty places. You’re paying for instruction with a professional photographer & guide, plus included extras like flashlights and an eBook about city photography afterward. You also get a tailored route and private time for just your group, which is where the value really shows.
Think of it as buying time with someone who can correct your technique in the moment. If you’ve ever tried to learn night photography by yourself, you know the cost can quietly pile up: endless trial shots, wasted time, and a folder full of blurry attempts. Here, the coaching is built into the route and timing.
The tour is also offered in English, and it’s designed so most people can participate. If you’re a beginner with a phone, the included guidance can save you from the usual learning curve. If you shoot with a camera, you can still get meaningful feedback on long exposure and framing choices.
One more cost-related detail: you’ll want to bring your own camera or mobile phone. If you’re planning to go with only a tripod, check your comfort level too. The best value comes when you’re ready to actually practice.
Who should book this night photo walk
This experience fits best if you want night photos with a plan. You’ll get the most out of it if you:
- Want to learn low-light techniques and long exposure instead of just taking random pictures
- Prefer guided routes where someone helps you find better angles at each stop
- Shoot on a phone and want practical help (including iPhone tips)
- Want a fun, non-museum-style evening activity in Stockholm
It’s also a good pick for couples or anyone who enjoys learning with a partner. The tour format is private, so you won’t be stuck doing the exact same thing as strangers with totally different goals.
Quick planning tips before you go
- Bring a tripod if you have one. Even if it’s optional, it can make night results more consistent.
- Wear warm layers. Night walking after sunset can feel colder than you expect.
- Charge your phone or camera fully. Cold can reduce battery life.
- If you’re using a phone, be ready for the guide to show you phone-specific ways to get cleaner night shots.
One final note: this experience is often booked about 30 days in advance. If you’re traveling during a busy season or want a specific date, it’s worth planning early.
Should you book Stockholm by Night photo walk?
Book it if you want night photography instruction that’s practical, timed right after sunset, and tied to real, good-looking stops like Old Town, Riddarholmen, Mariaberget, and Stockholm City Hall. The biggest reason to say yes is the coaching: you’re learning how to handle darkness and motion on purpose, not just sightseeing.
Skip it only if you’re hoping for a long, casual evening with no focus on technique. This is a shooting-focused experience. If you want that mix of learning, landmarks, and a warm fika reset, this tour makes a lot of sense.
FAQ
How long is the Stockholm by Night photo walk?
The tour lasts about 2 hours.
Where does the tour start and end?
It starts at Stockholm City Museum on Ryssgården and ends back at the same meeting point.
How much does the tour cost?
The price is $159.07 per person.
What’s included in the price?
Included are guidance by a professional photographer and guide, flashlights, an eBook about city photography after the tour, snacks for traditional Swedish fika, and local insight with a tailor-made route adapted to your level and interests.
Do I need a tripod?
A tripod is recommended due to difficult light conditions, but it’s optional. You can join with a camera or even a mobile phone.
Is the tour private?
Yes. It’s a private tour/activity, and only your group participates.
What if the weather is poor?
This experience requires good weather. If it’s canceled due to poor weather, you’ll be offered a different date or a full refund.
What is the cancellation policy?
Free cancellation is available. You can cancel up to 24 hours in advance for a full refund. If you cancel less than 24 hours before the start time, the amount paid will not be refunded.